Let's walk through the process of adding your first item to Green Flamingo:
Step 1: Access the Trip Details Screen
Choose the trip you want to add an item to from the "My Trips" screen. You will be taken to the Trip Details screen.
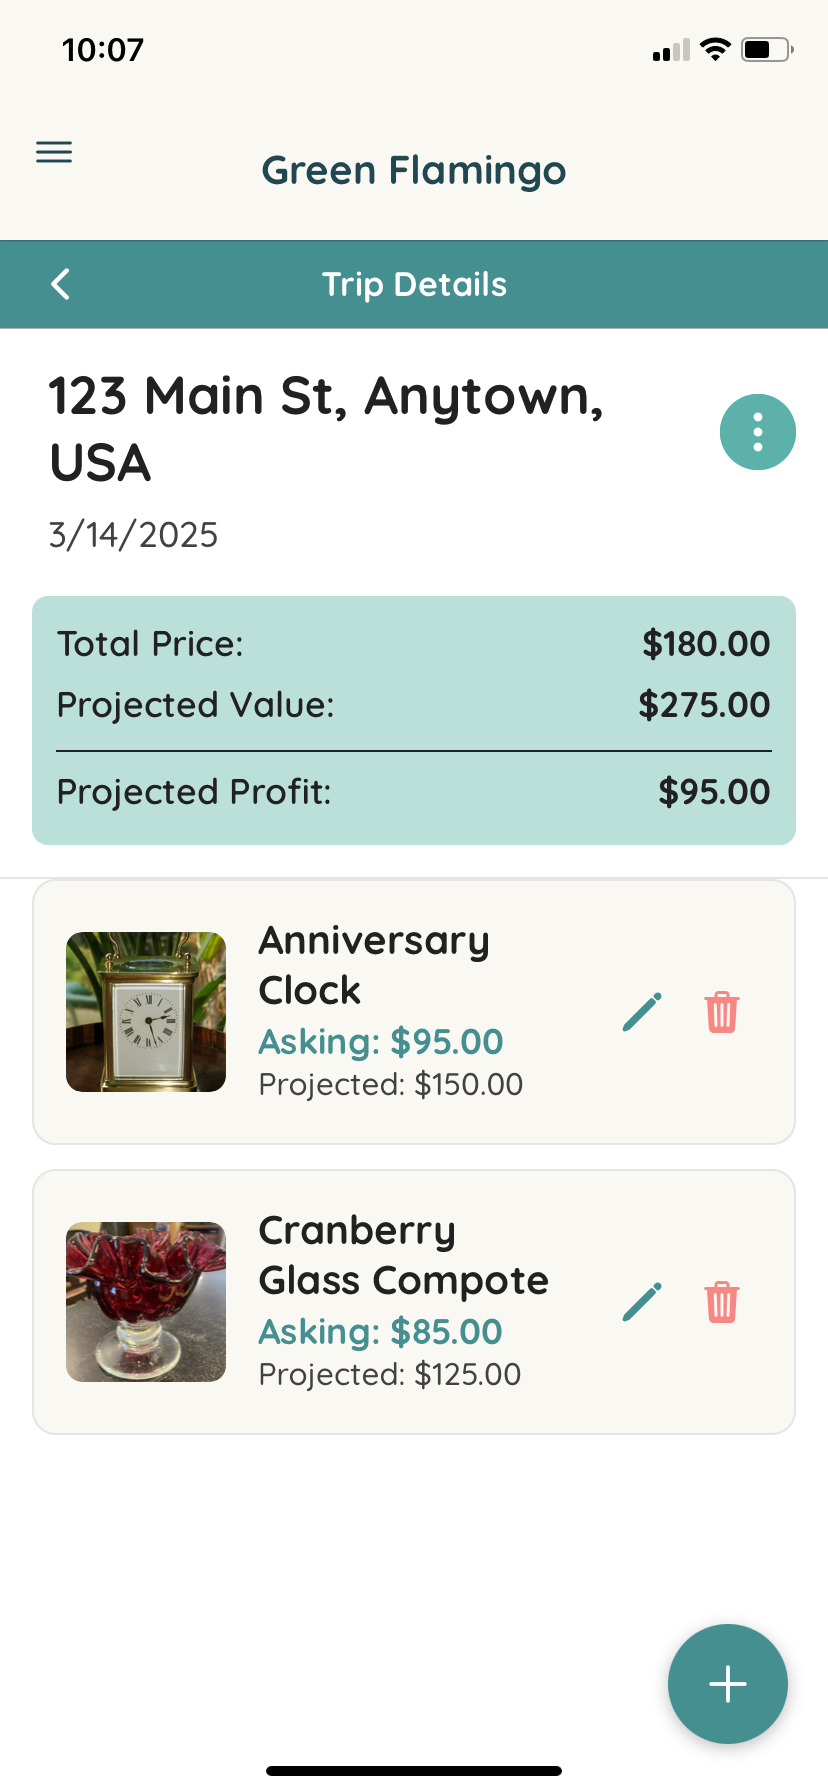
Step 2: Click to Floating Action Button
Click the "+" floating action button in the bottom right corner to navigate to the New Item screen.
The first thing you will see is an area for adding an item image. This can be realy helpful for identifying items later.
The first time you add an item, you will be prompted to allow access to your camera. This is so you can take a photo of the item you are adding.
Even if you only want to add images from you camera roll you will need to allow access to your camera.
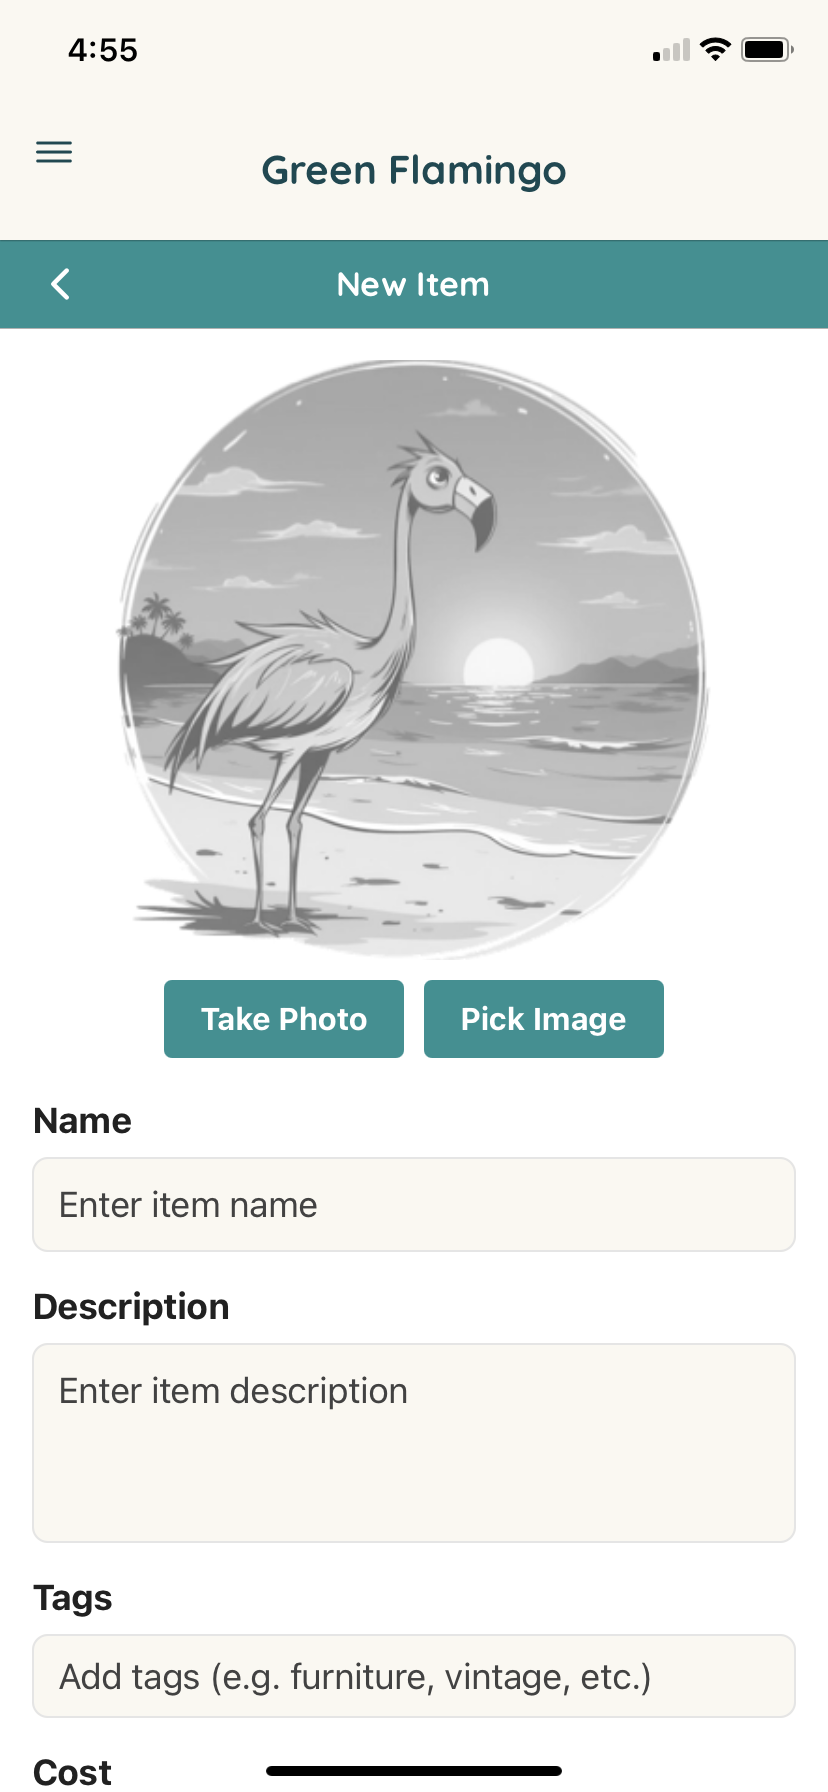
Step 3: Add Item Details
- Name (Required): Enter the name of the item you're adding.
- Description: Add a description of the item. This could include details about the item's condition, size, color, etc.
- Tags: Choose some tags for the item. This will help you organize your items and make it easier to find them later.
- Cost: Enter the cost you are paying for the item.
- Projected Value: Enter the amount you expect to sell the item for.
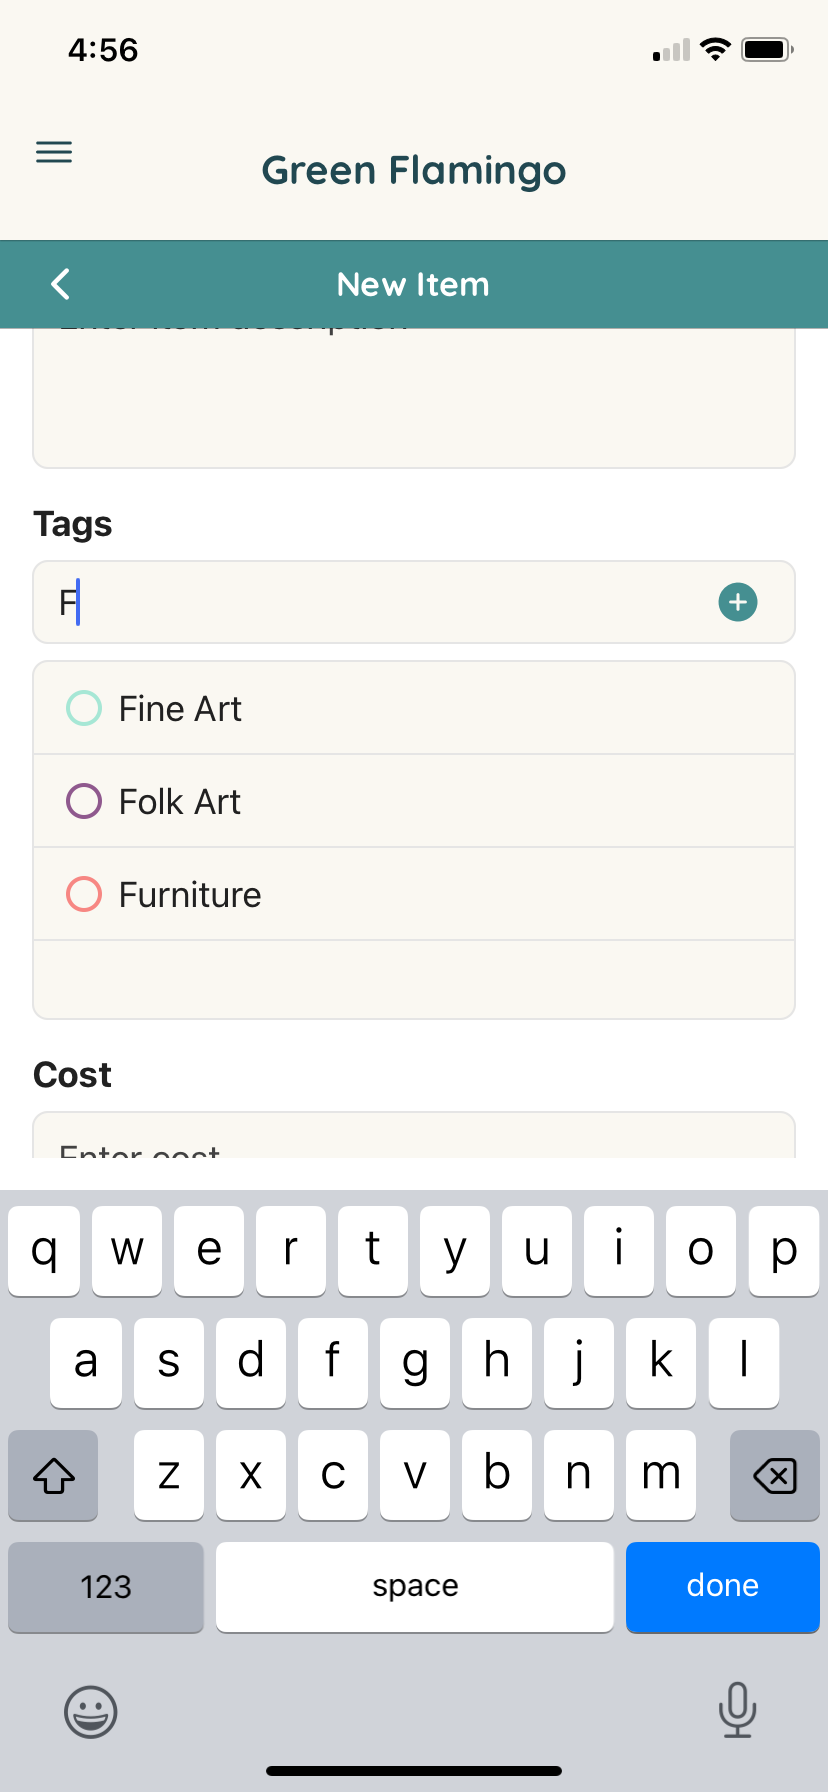
Tags
Tags can be really useful for categorizing items, searching for similar items, and more. We use tags in our reports to help you understand your purchasing trends.
You can add tags by tapping the "+" button next to the "Tags" field.
Frequently used tags will appear in the list as you type.