Green Flamingo organizes your inventory around "trips" - these represent your sourcing visits to estate sales, flea markets, auctions, or any other place where you purchase items for resale. By organizing items this way, you can track which sourcing locations are most profitable and manage your inventory more effectively.
Let's walk through the process of creating your first trip:
Step 1: Access the Trip Creation Screen
From the main "My Trips" screen, tap the floating "+" button in the bottom right corner. This will open the Trip Options modal.

In the Trip Options modal, select "Start a Trip" to create a new trip from scratch.
Step 2: Enter Trip Details
You'll be taken to the New Trip screen where you'll need to enter the following information:
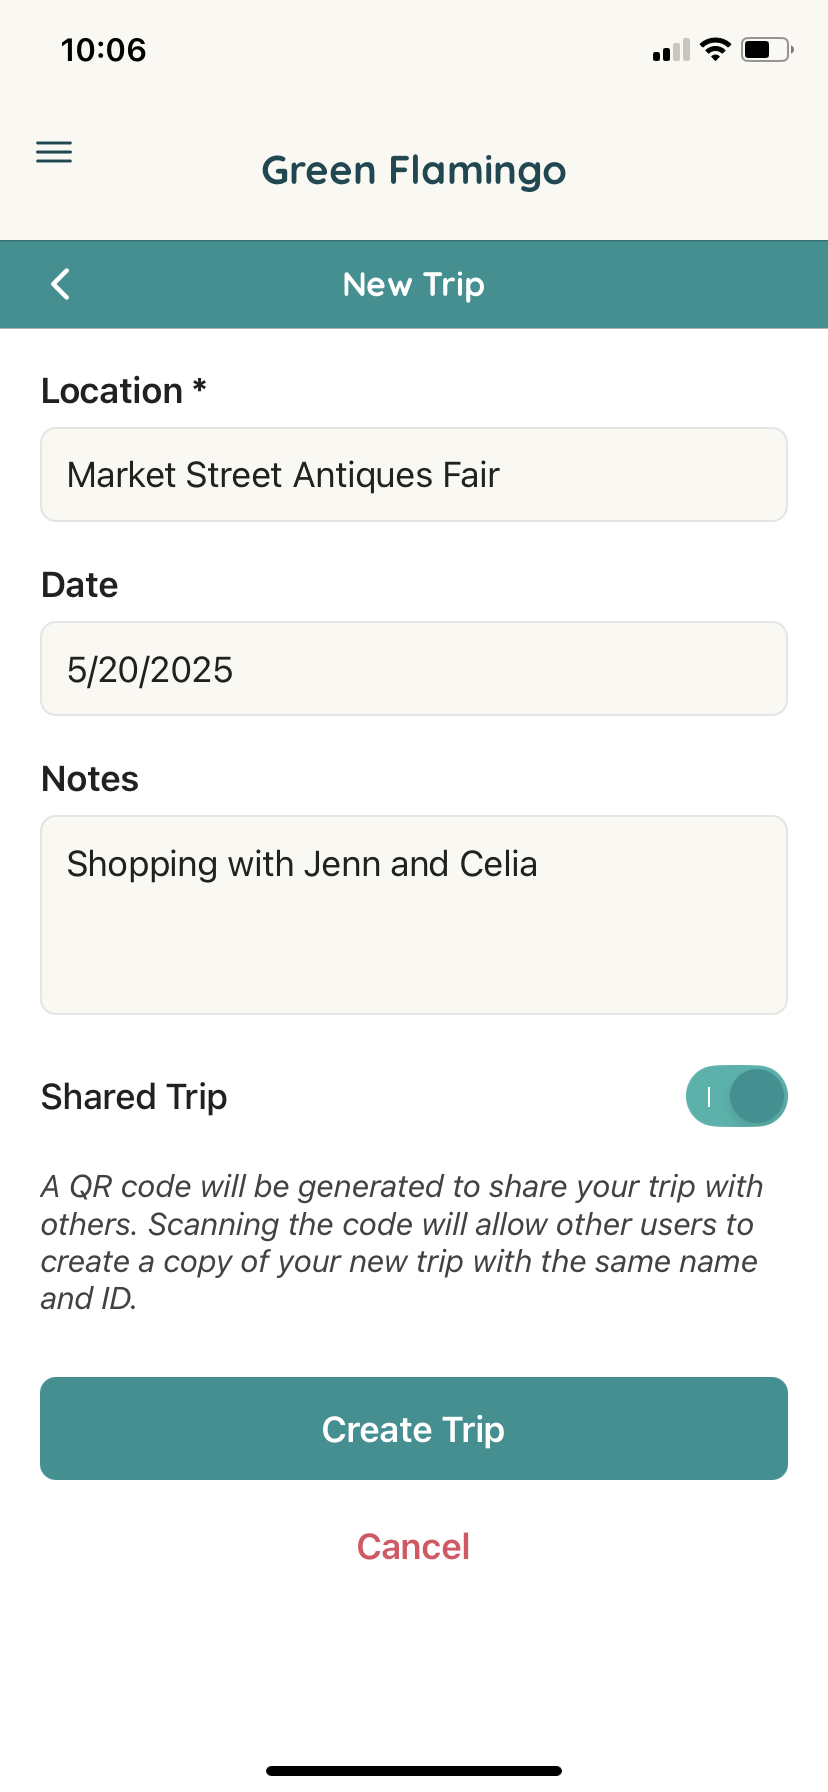
- Location (Required): Enter the name or address of the sourcing location. This could be something like "Main Street Antique Fair" or a specific address like "123 Main St, Anytown, USA".
- Date: By default, this will be set to today's date, but you can change it by tapping on the field and selecting a different date.
- Notes: Use this field to add any relevant information about the trip. This could include details about the seller, special circumstances, or any other information you want to remember.
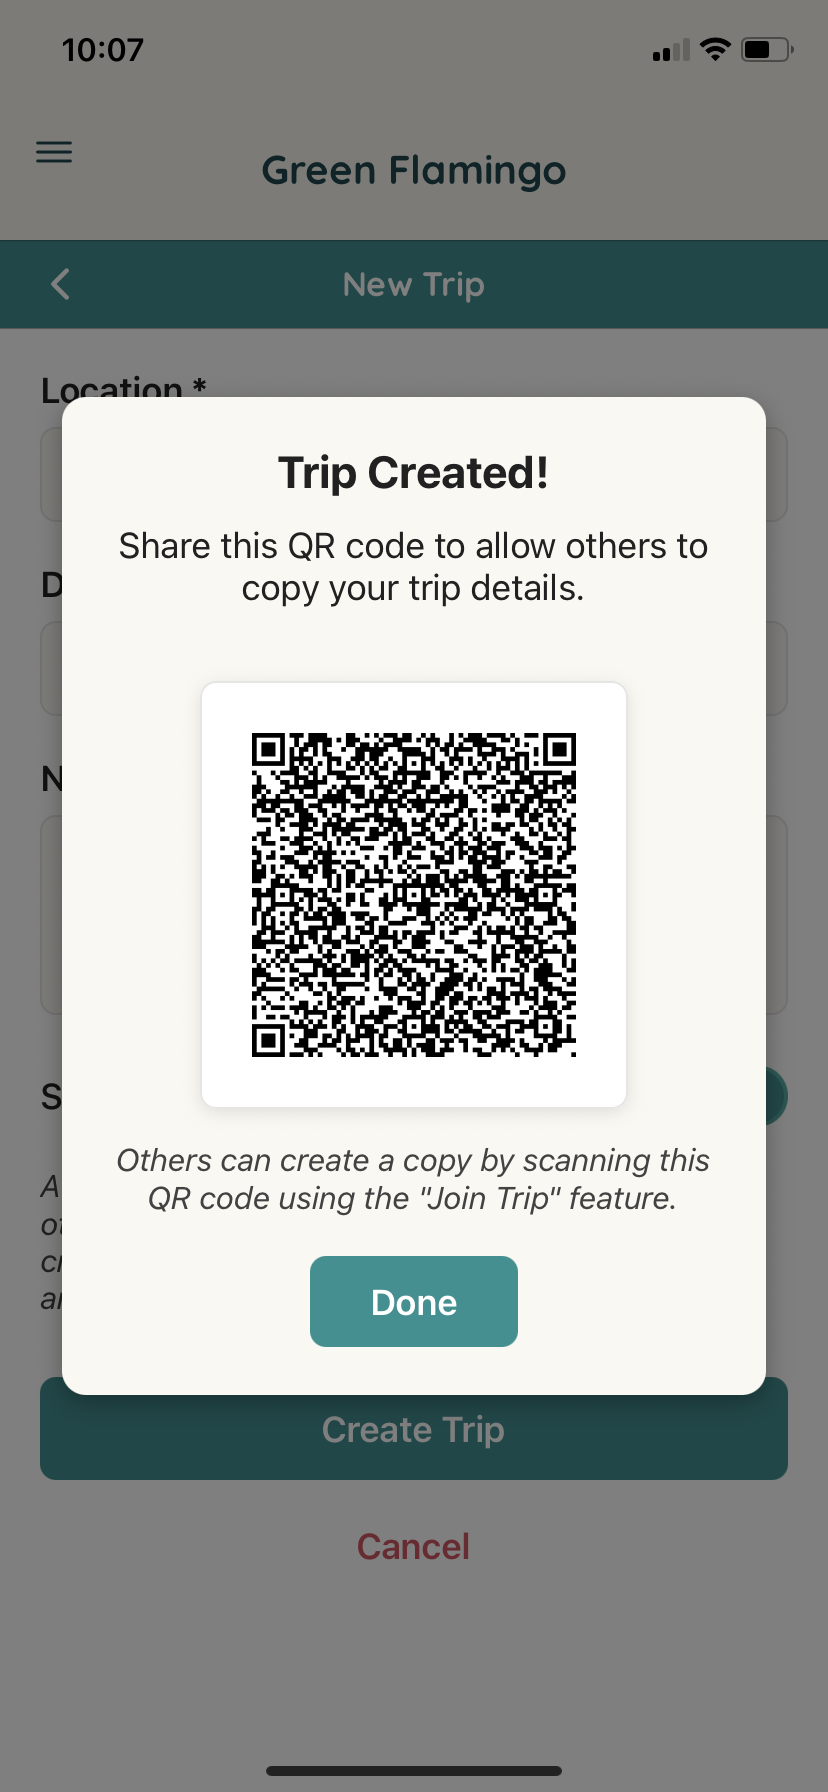
Step 3: Trip Sharing (Optional)
If you plan to share this trip with other Green Flamingo users (like business partners or team members), you can toggle the "Shared Trip" option on. This will generate a QR code that others can scan to import the trip data to their own device.
If you're working solo, you can leave this setting off.
Step 4: Create the Trip
Once you've entered all the necessary information, tap the "Create Trip" button at the bottom of the screen. Your new trip will be created and you'll be taken to the Trip Details screen.
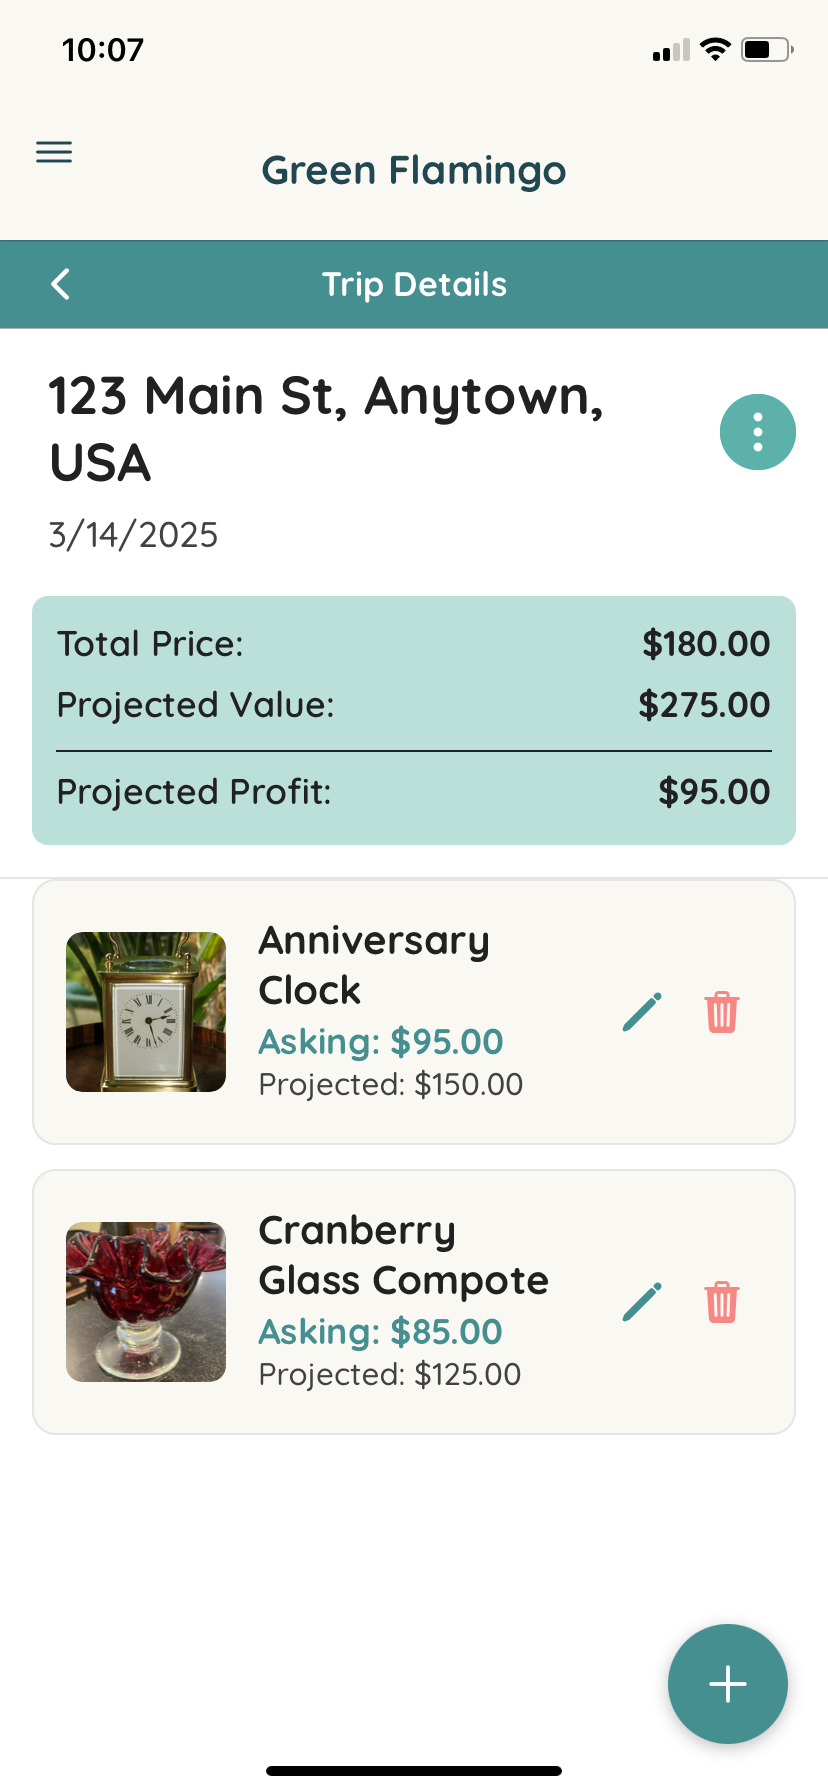
The Trip Details screen shows a summary of your trip, including the location name, date, and any items that have been added (none yet, since this is a new trip).
Step 5: Adding Items (Next Steps)
Now that your trip has been created, you can start adding the items you acquired during this sourcing trip. To add an item, tap the "+" button on the Trip Details screen.
For detailed instructions on adding items, check out our Adding and Managing Items tutorial.
Tips for Effective Trip Management
- Be specific with locations: Using detailed location names will help you remember where you found valuable items and identify the most profitable sourcing spots over time.
- Use the notes field: Add information about the seller, special circumstances, or any other details that might be helpful later.
- Create trips in real-time: For the most accurate data, try to create trips while you're at the sourcing location or immediately afterward.
- Group similar sources: If you visit multiple small vendors at the same event (like a flea market), consider creating one trip for the entire event rather than separate trips for each vendor.
By effectively organizing your sourcing trips, you'll be able to track not just individual items, but also identify patterns in your business, such as which locations or events yield the highest profits, what times of year are best for certain types of items, and more.